MONSTER SUPPORT GROUP
- Amy Cunniff-Bleau
- Jan 27, 2024
- 2 min read

My boys have always loved going to plays! From the time they were small and we saw a play in Washington Park, they were sold! Now that they are in high school, they love participating in drama club.
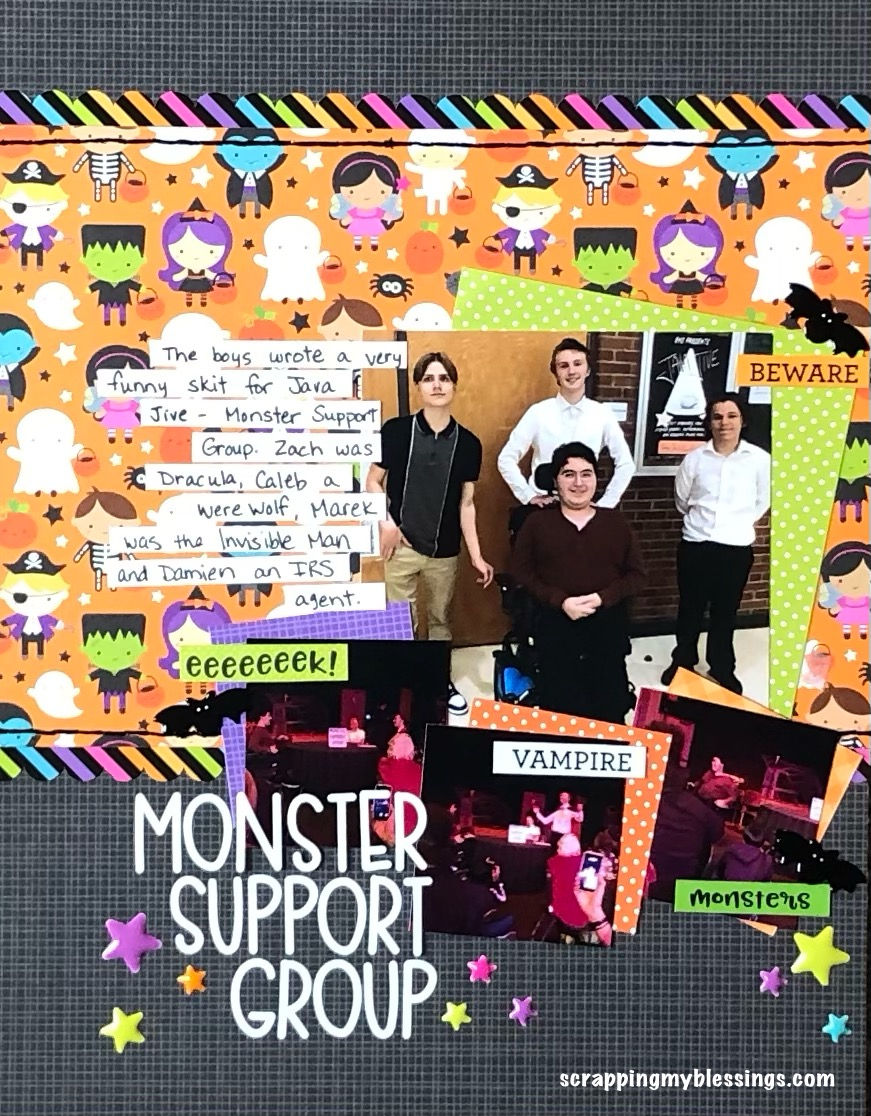
This past fall Caleb and Zach worked together to write a skit for their school’s Java Jive. The drama club and ELA Honor Society put on this event, similar to a coffee house, and it had a Halloween theme. Zach knew right away that he wanted to write a skit, and came up with the cute idea of a Monster Support Group. Zach got the major “bones” down on paper, and then Caleb came through, edited and added to it.
Zach was Count Dracula who could come out in the sun now that he had discovered SPF 1000, Caleb was a werewolf that was self conscious because he was extra harry in between the full moons. They recruited two of their friends to play The Invisible Man and the scariest monster of all - an IRS agent.
I was not so sure how the skit would turn out because they only had one rehearsal with all four actors, but they did a great job and were actually funny! They got a lot of laughs and included the audience. I was so incredibly proud of them!
Scrapbooking Tips
During the skit, Jim video taped, and I took pictures. I was disappointed with the quality of the pictures because there was red lighting on the stage, and we were a little distance from where they were performing. However, I did have a copy of the script they wrote, and the sign I made for them to use as a prop on their table.
I created an 8 1/2 x 11" layout and slipped it into a 12x12" page I created with a pocket!

The focal point of this layout is the pocket that holds the script, program for the night, and the smaller layout. I actually trimmed down the sign they used as a prop to 11 1/2 by 11 1/2”, then I carefully added 1/4” double sided adhesive tape to the left, bottom and right edges. Once this was adhered to my base page it created a pocket.
To add some fun and color, I used some cute Doodlebug Embellishments and decorated the pocket. I also used multiple color threads in coordinating colors to stitch the edges of the pocket. The first time I used this technique was in an Allison Davis class at Scrapbook Generation’s Luxury Crop - We Create. It’s a fun and quick way to incorporate more color on the layout with very little extra effort.

I had originally considered making a two page layout, but I just didn’t have enough good photos.
I’m more concerned with capturing the memory and am wiling to be flexible in how a do it! So even if you do not have good quality photos, there still is a way to scrapbook the memories.
Supplies Used:
Card stock - Bazzill & The Paper Company
Pattern Paper, Embellishments, Stickers and Letter stickers - Doodlebug Designs, Inc.
Thread - DMC Embroidery Floss


Comments